Places To Visit
India offers over 1,000 tourist attractions and several World Heritage Sites. Here are some of the most extravagant places you can visit in India.
We Give You The Inside Story Of Every Travel Destination, Historical Facts, Myths About Indian History, Travel News, Travel Products, and Some Events On Every And Everything That Has to Do With Travel Destinations.
Hello World, You can call me GurPreet(ਗੁਰਪ੍ਰੀਤ) ! I’m a Travel Blogger, Digital Marketer, YouTuber and Entrepreneur. I have more than 6+ years of ruff–and–tuff travel & blogging experience under my belt so please do check out the site and if you need any tips and tricks just shoot me an email – I’ll do my best to reply!
I bring you the best travel blogs where I will share the best places and tips and tricks
The Kurumbera fort is located in the village of Gaganeshwar. The name means that there is an inscription surrounded by a stone that was built during the reign of the Sun dynasty.
The beauty of the Great Himalayas has drawn a diversity of people towards it.
Today, I’m thrilled to provide comprehensive insight into the picturesque region of Sittong.
Best To Visit Sikkim 2024: Experience the enchanting charm of snowfall by planning a trip to three picturesque destinations
What To Bring When Travelling With A Pet: How often have you gone on vacation and missed having your pet with you?
Cheap Airline Tickets To India From USA: If you are looking to spend some quality time with your friends…
Feel Like a Celebrity on Your Next Trip to Los Angeles: Los Angeles, the global…
Explore Timeless Beauty with Travel Packages to Rome – When it comes to timeless beauty, few cities in…
India offers over 1,000 tourist attractions and several World Heritage Sites. Here are some of the most extravagant places you can visit in India.

I bring you the best travel blogs where I will share the best places and tips and tricks for you. Most Beautiful Travel Blogs in 2021. That Takes Storytelling to the Next Level.
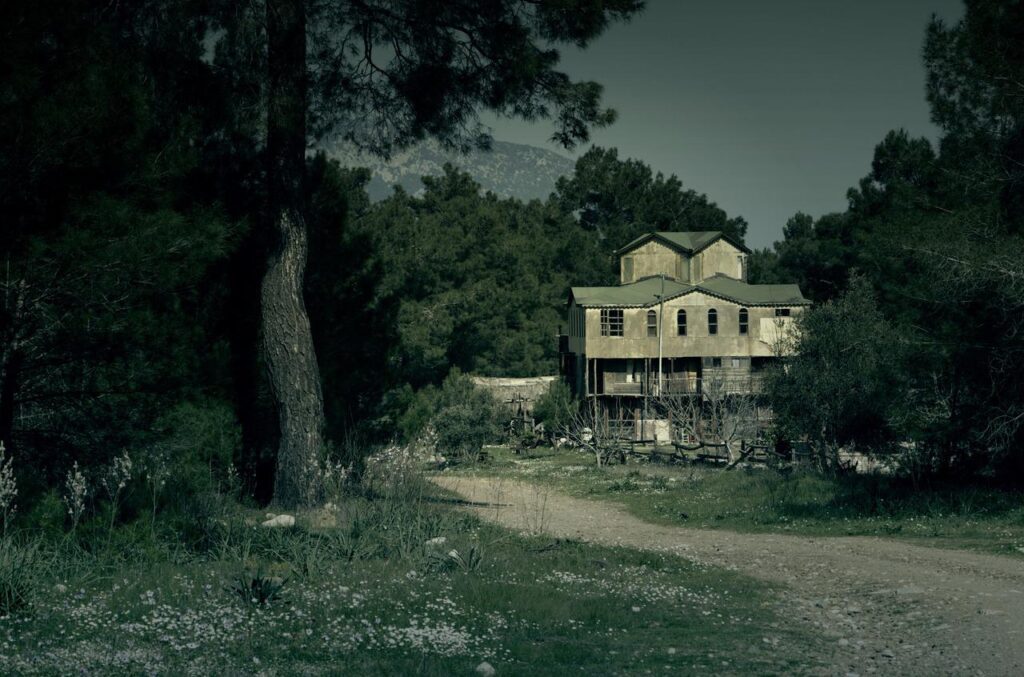
Believe it or not, there are more haunted places in India than you know. From Kuldhara in Rajasthan to Mukesh Mills in Mumbai, these haunted places and their stories are sure to make your hair stand on end.
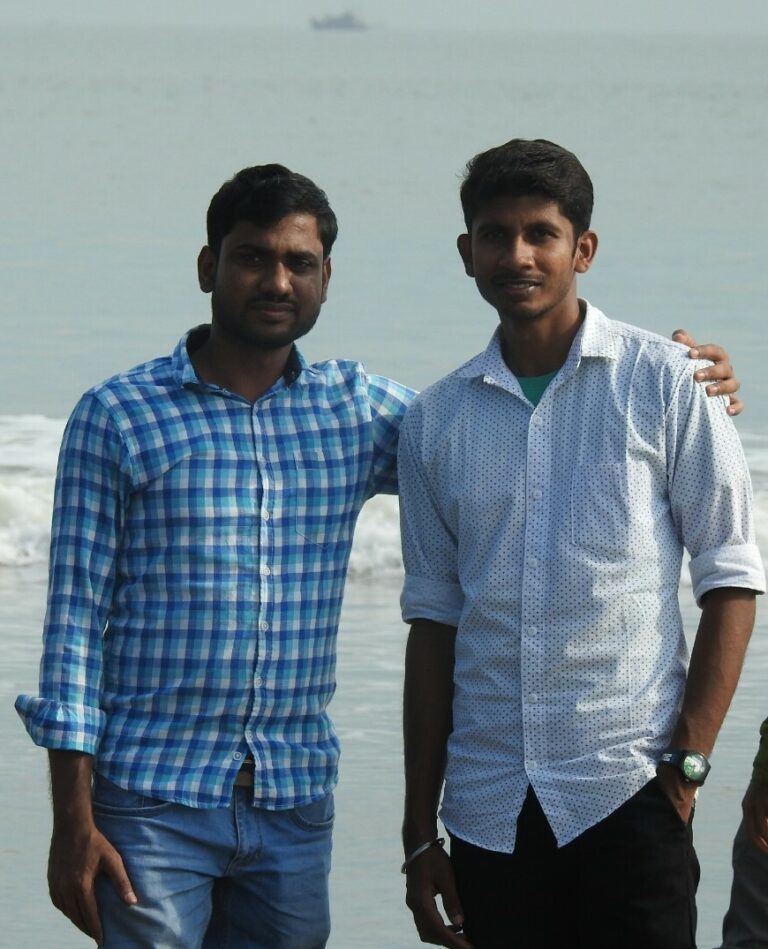
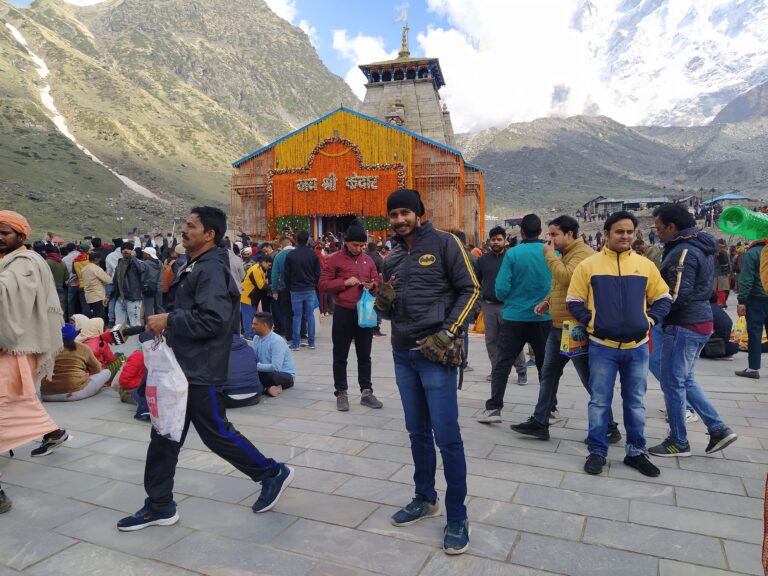
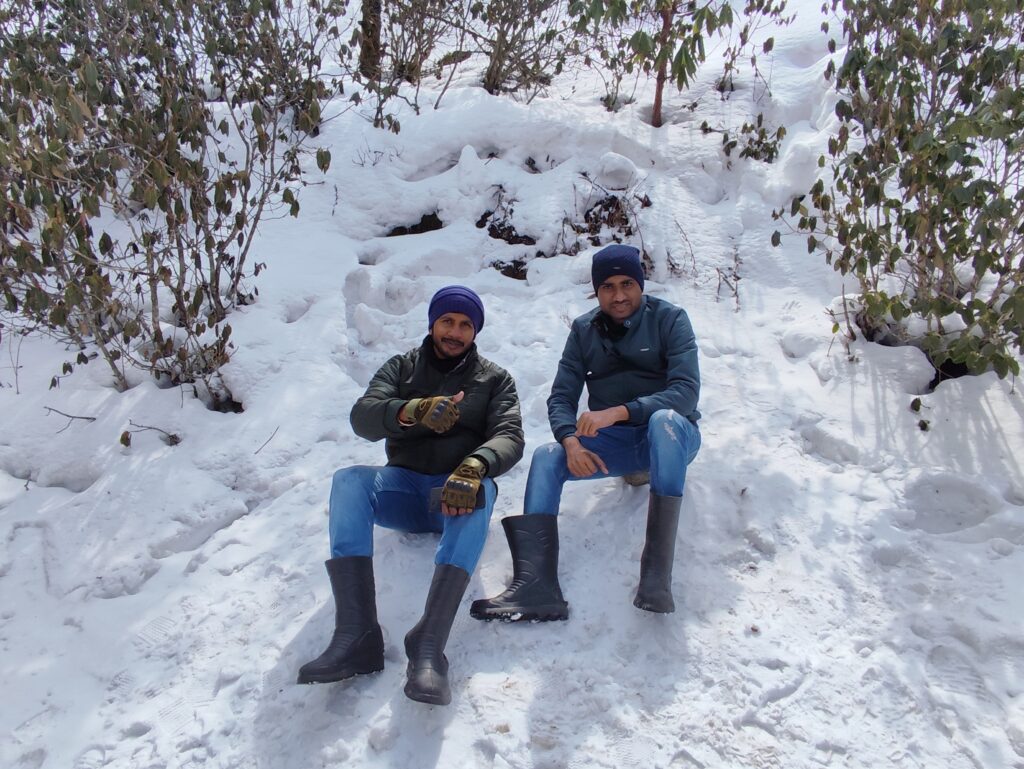
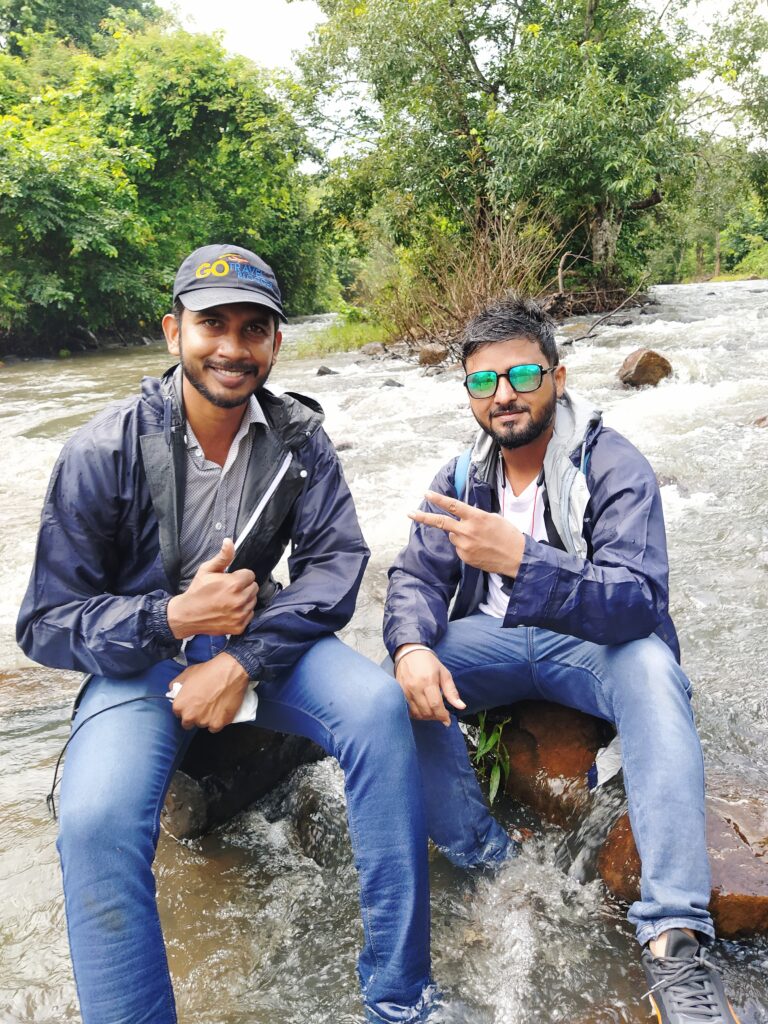
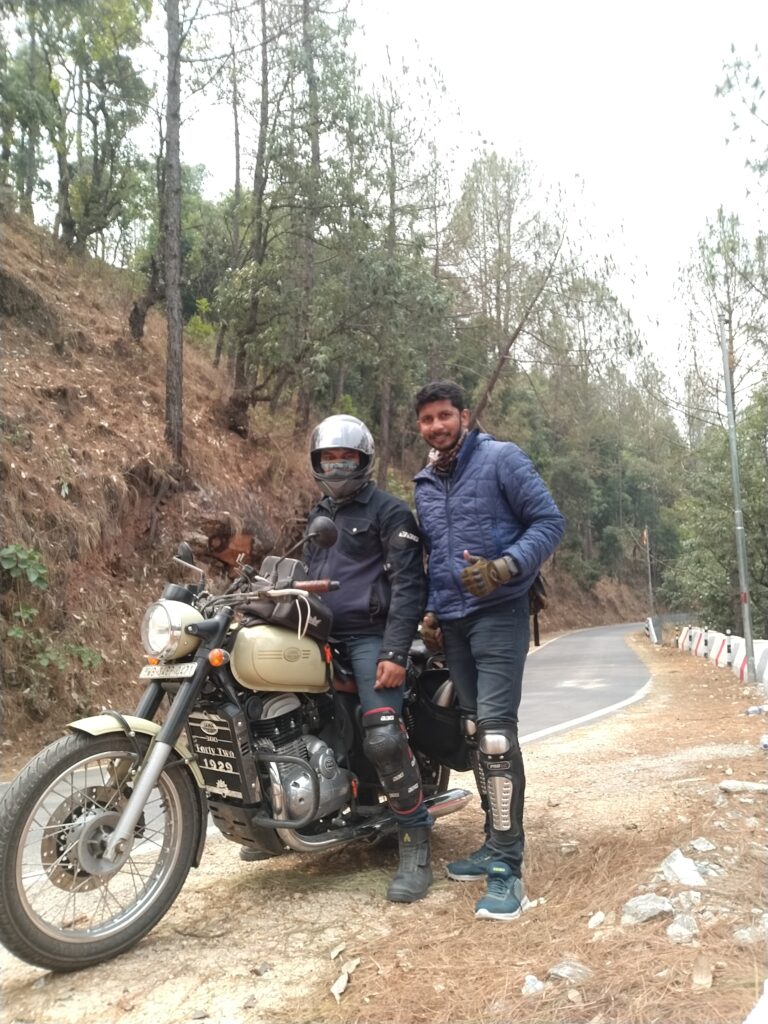
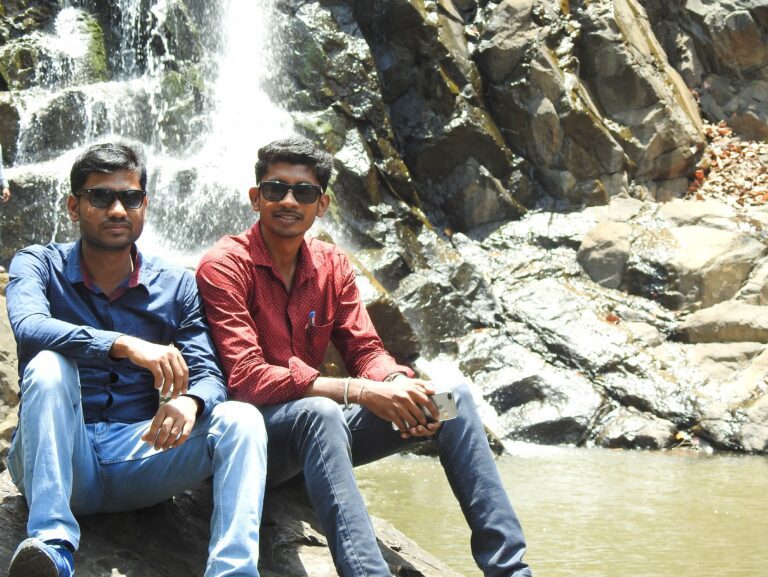
This Guys Are Always Ready To Explore New Places With Me.

Rider

Rider

Hitchhiker